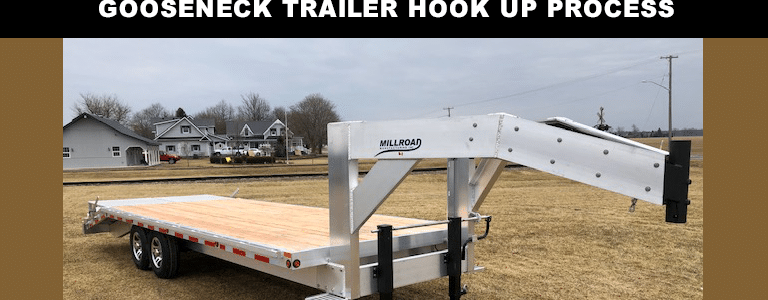
September 1, 2020 Last updated on June 16, 2023 by Bob Fisher Bob Fisher Gooseneck/Fifth Wheel Trailers
Are you planning on doing some major towing? If you are, then a gooseneck trailer is likely your best bet. However, before you dive into the purchasing abyss, make sure that you know what you are getting into and that you are prepared. Many people underestimate their towing needs or their vehicle’s capacity, so before buying a trailer, get to know the classifications and figure out which level can do what you need.
Gooseneck trailers come in five classification levels. Level I and II are for the lightest loads and use a basic drawbar system. For slightly heavier loads, up to 10,000 pounds, look for a Class III or IV, which are ideal for towing boats or campers. Finally, if you’re going to haul significant loads of up to 30,000 pounds, then look into class V. The size and capacity of the trailer depends on your specific needs.
While the connection and hookup may be slightly different, all goosenecks follow a similar installation process. The durability and strength of the hitch depend on the classification and your load needs. However, every gooseneck trailer requires the installation of a unique mount before a hookup can begin. If your truck already has the essential modifications, then follow the below eight steps to hook up your trailer:
1. Raise the trailer: The first thing you need to do is raise your trailer height. Using the jack, lift your trailer above your truck bed, ensuring there is enough clearance when you back in. It is advisable to have another person with you to signal.
2. Align the coupler and lower the trailer: Next, align the coupler over the ball in the bed of the trailer. If you raised the trailer too high, then lower it slightly to know when it is in position. When it is directly over the ball, unlatch the trailer, putting it in the open position. Then, lower the trailer onto the ball.
3. Raise the jack feet and secure the handle: With the weight of the trailer now on the bed of your truck, you can raise the jack feet. Above each foot, there should be a pin. Pull it to release the foot. Finally, secure the jack handle.
4. Connect the breakaway cable: The breakaway cable is thin. Secure this cable to either side of the hitch at the specified securing point.
5. Connect the safety chains: With the breakaway line connected, find the safety chains and secure them to u- or d-bolts in the bed of the truck. There should be two chains for either side of the hitch system.
6. Close the coupler: Before connecting any electronics, you need to perform the final step to secure the trailer to the truck. Locate the coupler and safety pin, and make sure they are in the closed position, ensuring a dependable connection.
7. Plug into the receptacle: The trailer has a plug that connects to the signalling and braking system on your truck. You need to connect this to the appropriate outlet. Many truck manufacturers have an out on the side of the truck bed, but if you cannot find the connection there, look below the rear bumper. With the plug connected, you can close the tailgate.
8. Perform safety inspection: Finally, perform a safety inspection. Go behind the trailer and have a partner in the driver’s seat using the turn signals, brakes and marker lights. If the electronics work, then begin towing your trailer slowly to check for a secure connection.
A gooseneck trailer is excellent as a multiuse trailer, but make sure you have the right trailer class for your job. While the trailers look complicated to hook up, the above eight steps make it a breeze. Contact Millroad Manufacturing for any trailer concerns or needs.